Showing posts with label embellished. Show all posts

Wednesday, August 7, 2013

August ATC Trade - Butterfly

This was a theme idea that I was excited about but worried about. I loved the idea because butterflies are so colorful and fun but didn't want to do an ATC with a picture of a butterfly. I have promised to stretch myself and these trades are very helpful. If you google images of butterflies, you get so many different types and it amazes me that I only see a few versions! But a few caught my attention when looking at them up close. The patterns on some have spots on the bottom wings that look to me like eyes. I love eyes and I love drawing them. They are so expressive. There was my starting point!


Each piece is on card stock. The eye was sketched in first with a light pencil and then a pattern was created around each. I colored in each with Sharpie markers! I never thought I would ever draw with markers but I love the details and colors I can get when overlaying. If I ever win lotto, I will buy sharpies in every color! Well after the color went on, I outlined everything with a finepoint black micron pen. For the eye centers, I used black puffy paint but left it flat so it would be shiny black. Additional details were made using glitter glue. I just couldn't pick a favorite to showcase so you only get the group shot.

Next up is my prayer flag trade but still struggling with ideas so it may be a while!

Thursday, July 11, 2013

I think I have a problem!

One of the side trades in our group was to do a 6" x 6" mixed media piece which included hand stitching. The inspiration came from the challenge posted in Cloth, Paper, Scissors magazine. If we love what we made, then we could in turn, enter it into the challenge.

I was not prepared for how much I would love the size! I have finished four and have another four more in the works!


This one was inspired by all the rain we have had. At the end of my driveway is a small hole that fills with water whenever it rains. I noticed a leaf at the bottom and was intrigued to recreate it. I drew the shape of the puddle first and using tissue paper and gel medium, I created a rock texture around the hole. After it was dry, I used various acrylic paint colors to get the color I wanted. The bottom of the water was painted in dark blue with a wash of brown over it. The leaf was created from a cotton face pad. Did you know you can dye them?!! I have a bunch so cut out a leaf shape and using my sewing machine, I sewed veins. I actually hated the top side and flipped it over. This was much better. A few beads and then dimensional magic by Modge Podge created the water. I love this stuff! I hand sewed a few leaf shape beads on top for the complete finish.


Was playing around with sketching on canvas for this one. Then I was coloring it with oil pastels. You know that point where you hate what you are doing so you cover it up?! Don't lie. OK go ahead. Well I hated it and painted over it with white acrylic paint. Don't you love crazy things like that? I loved the look because some of what I had was still peeking through! So back in with pencil and oil pastels. I loved how it looked! Yes her eyes look cross eyed and one is bigger than the other, but the technique was very cool. I will be trying it again.


So my sister thinks this is creepy because she is green. Well that's because she is a mermaid! In my world, mermaids are green! I sketched her out on the canvas and well yes she is disproportionate too. Try drawing on untreated canvas. Not so easy. I painted her with fabric paints and then sewed in details on my machine. Her eyebrows look like small caterpillars but I still like them. In face reading, big eyebrows indicate intelligence! So she's smart! I added more details with fabric markers and then added dimensional magic all the way around her face. When it dried, I added in rings of the dimensional magic. After that was dried, I used interference blue paint on top and dark blue markers around the edges to create ripples of water. Is she looking up from the water or down at her reflection?


This was actually the first one I made. It was a bit like my ATC I created. This is actually canvas, thin batting and then brown fabric on top. I free motion quilted the rocks and sand. Then using sheer fabrics in brown and blue, I sewed them down to make waves. Using fabric paint, I added details into the rocks and created a sandy section using sand gel medium. Fabric paints finished off the sand. The waves were touched with the interference blue. I wanted to created water sloshing up onto the shore and used, you guessed it, dimensional magic! Interfence paint was applied to the edges of the water waves.

So those are my first four attempts. Stay tuned as more are coming!

Sunday, May 5, 2013

New Work

Are you having a heart attack yet? Three posts in less than a month. I think it may be a record for me! But I am so excited to be sharing a piece I have been working on for the last 4 months.

Full size

I created this from an image I had in my head one morning when I woke up. Not sure where it came from but I knew I had to make it.


Closeup
I started with a brown batik for the center of the piece. Then sewed a brown satin material onto each side of it. I made folds for the lines made in the sand when water washes over the sand. This was sewn down by a machine. The waves are different sheers that were sewn on in folds and then I used a wood burning tool to cut them apart. I have to clean them up a little as there are tiny brown spots where the tool was on it a little too long. The rocks were applied after I free motion quilted circles to create sea foam. The rocks were from material my friend Christine sent me that she hated. Perfect for rocks! They were hand sewn on and then stuffed with batting so they pop off the surface. The sand was created first by hand stitching and then different beads and small shells to mimic the waters edge. The final part was a dark brown sheer sewn in to create water over the sand. I added in some more details with shiva oil sticks.

I am linking up my post with Nina Maries Off the Wall Friday Blog. Check out what everyone else did this week creatively :http://ninamariesayre.blogspot.com/

I am loving how this turned out. It is an abstract representation of the different elements of water. Its very textural and the colors blend so nicely. I have named it "Opposing Forces" because it represents the world we now live in. So many people think that we are either one side or the other and yet when you talk about the problems, everyone seems to be of like mind and upset about the same things. Its the fixing of the problems that we all differ. Until we find a way to work together again for solutions, we will be forever butting heads or "crashing" into one another.

Saturday, May 4, 2013

Thrinchies!

I am putting up a second post within a months time. I know, scary right?!! This group decided to stretch it's wings and try new types of projects. I joined this one and obviously didn't finish on time. But they are a great group of woman and are not beating me up over it! So the additional trade the last month was called a thrinchie. I had to google for info. It's like the trading cards but 3" x 3" and the basic theme was spring. See the others here: http://heartisttradingcards.blogspot.com/

When I work on new pieces, I find myself being pulled in the direction of playing it safe and make the same type of pieces. It's okay I guess as it is my style but I wanted to bust out a little bit. So I fused white fabric to peltex and colored it with neocolor crayons. I used a paintbrush with water and blended the colors. Then I stamped a funky flower in the center. Immediately I hated the piece.


So I did what I usually do. I put it off to the side and ignored it. I was cleaning up my studio and ran across my stamps and thought that would be cool! I used my hand cut leaf stamp and stamped in lime green. Then went back over them with dark green. Then a commercial tree stamp was used in dark blue ink over the top of the whole piece. Very nice! The pale green stripe is a ribbon sewn down using the machine. I hand sewed the gold washer with red thread. The edges were done in a dark red on the sewing machine.

I love them and of course did a crummy job of photographing them. They are way more vibrant in person. Also never use a shiny surface to photograph pictures. Bad idea!

Monday, December 31, 2012

Gustavo, Georgie and Fib

I finally finished this piece and named it after my daughters three African fighting frogs. This piece has been in the works for over two years. I would get excited about it, work diligently and then hate it. So it would be put away until I would find it again while looking for something else. Up on the design wall, critique and then figure out what was going wrong with it. The last round was the fact I needed something in my underwater landscape. Enter the frogs.

Closeup of one frog

Here is another closeup

Final finished piece
I really love how this finally turned out. There are so many design techniques and materials that went into this that my hand would go numb typing them up for this post. Let's just say I am extremely happy with the results! Maybe I will enter it into the Celebrate Spring call for entries.

On to my next adventures. My one goal for 2013 is to finally put together a website. Another goal is to start entering my pieces into shows. I need to get back to art again.

Thursday, December 27, 2012

Stormy Lake ATC

Wow! This is embarrassing. I haven't posted anything since August. My sincere apologies. My kids, work and life took over. I didn't even participate in two months of ATC trades because of all the events in my life, but I am back on track. I did manage some creative endeavors though and the Lake trade was one of them.

As you know, we have been using colors as our prompts this year. Lake was one I was looking forward to doing. I love all the colors and reflections that are involved in lake.


The base fabric was a commercial brown material that had swirls and spots that reminded me of the bottom of a lake. I took a shimmery dark blue sheer fabric and scrunched it, pinned it in place then sewed it with dark blue thread. I did the same with a light turquoise sheer to finish off the top part. The lake has these colors when a storm is blowing in. I brushed interference blue paint across the tops for a wave like action. The final part was Glossy Accents to add the shine of water on sand and a few seed beads dropped in for texture. This turned out to be one of my favorites that I have done.

Maybe a larger version of this piece would be nice and donate to the swim team for fundraisers!

Friday, August 17, 2012

Sneak Peek

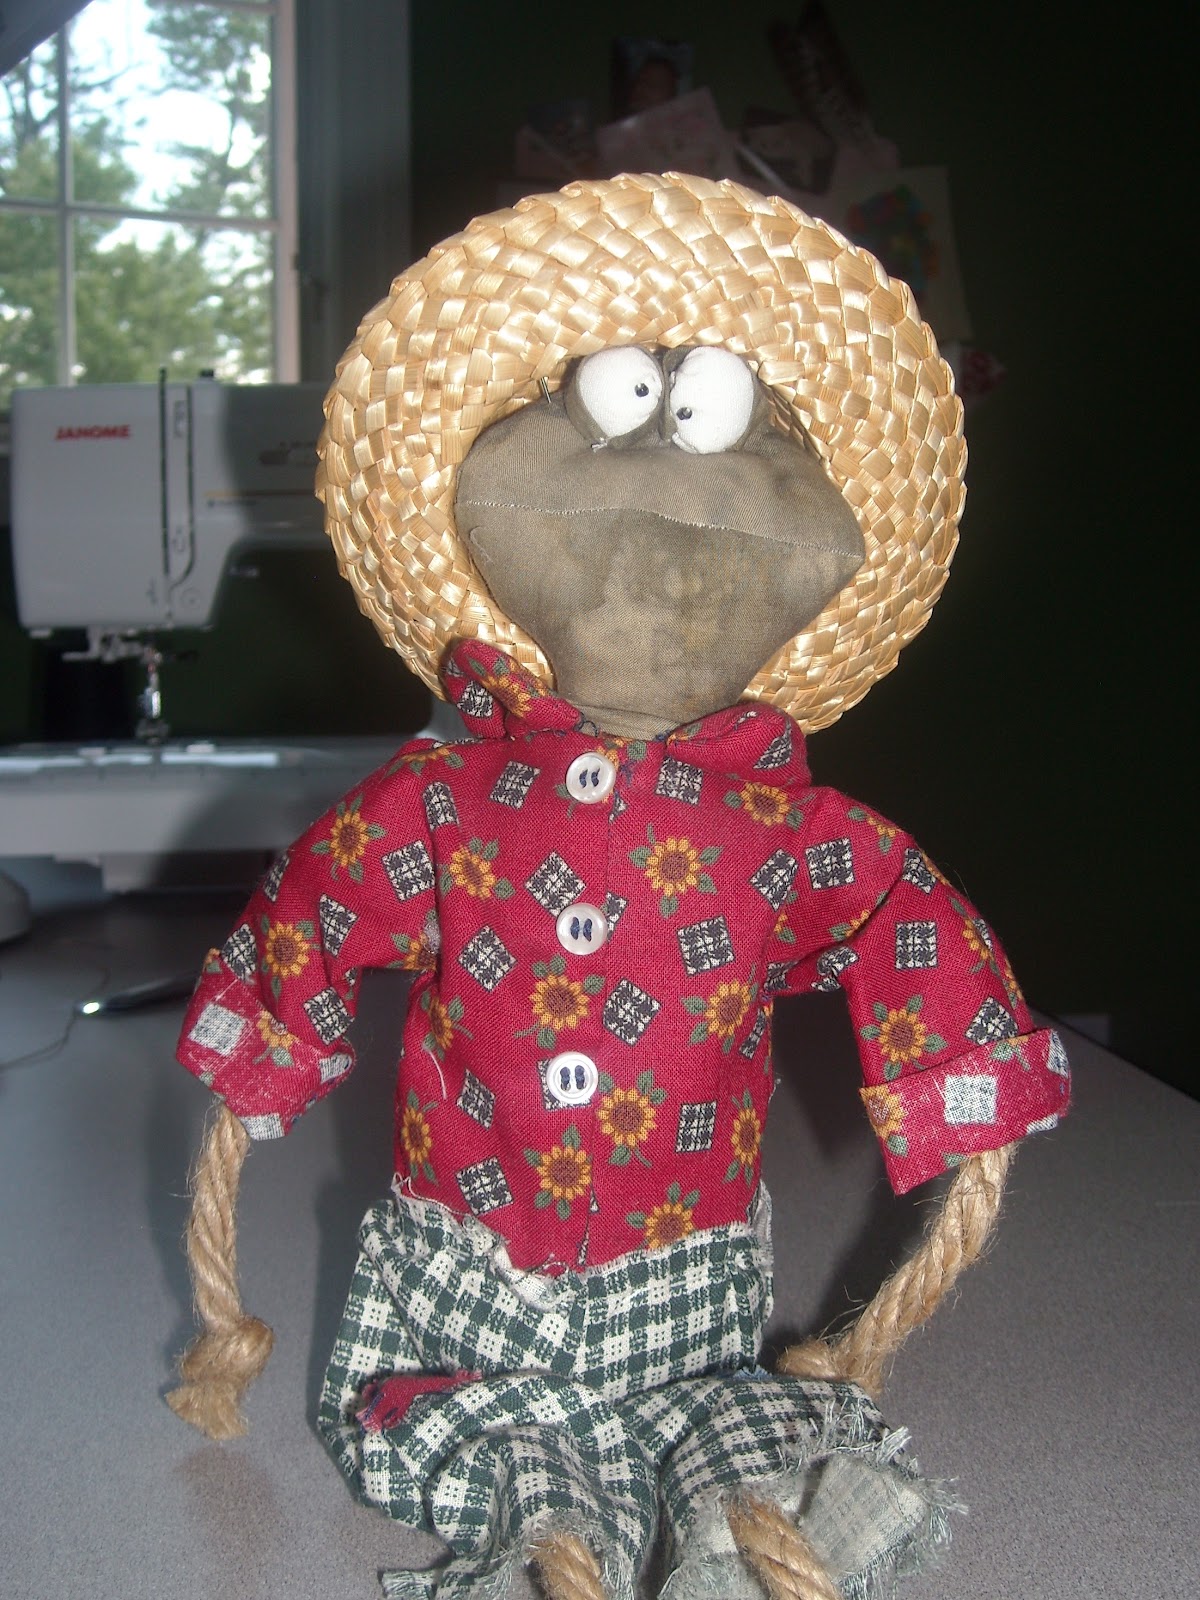
Not sure what is going on with me this week, but frogs have definitely been a mainstay in my creations this week. They are rather cute. This guy was from a pattern I bought a long time ago, started but never finished. It was supposed to be a present for my sister who is crazy for frogs. So if she wants this guy, she is going to have to come for a visit to get it! Ha ha!


He has a mate which is started. Should be another 10 years before I finish her though! Well maybe I can get it done by Christmas.

As a participant in a quilt art blog hop, I am submitting my current work in progress. To check out everyone else participating hop on over to Nina Marie's site


My last frog is actually a set of frogs. I pulled out a piece I had been working and and was in love with. Suddenly, after viewing it hanging up, I hated it. I pulled it off the design wall and buried it like I always do. When I get stuck on a project, I find that stepping away from it for a while will help me gain some perspective. This time it worked. I realized I did not have enough contrast and set about adding in more colors along with the contrast. I was happy when done but it was still missing something. Walking by my daughters african fighting frogs made me realize that was what was needed.
In second grade they learned about the life cycle of a frog and grew them into tiny little frogs. Once the unit was done, the kids were allowed to take some home. They were the size of a thumbnail. We took three which she promptly named Georgie, Gustavo and Fib. They are now the size of a large fist and need a bigger tank!


I spent an evening sketching the little guys. (I say evening because they move around quite a bit.) Once satisfied with the sketches, I traced them on some heavy vellum, cut them out and used it as a template to trace onto a greenish batik. The frogs have spots all over and I wanted a dimensional look, so I put a piece of batting underneath the frogs and free motion quilted around to create the patterning. Colors for the spots where done with fabric markers. The final part was to applique it onto the quilt. Just before sewing it closed, I added some stuffing inside to really pop them off the quilt.
I am loving this piece. I am finally ready to square up and finish it off! It feels so good to create something I love again!

Friday, March 2, 2012

Unconventional Materials

A while back, the QuiltArt list had a call to artists to create an art quilt out of unconventional materials. We had only a month to pull that off. Not sure what there was about this call that grabbed my attention but I immediately had an idea of what I wanted to do. This piece came together in a matter of days! I think it was because I hadn't been doing much art this past year. Life was seriously getting in the way.


I started with a piece of fabric I had been using under my rust dyeing experiments. The material is from my mom. It has a type of rubber backing on it to prevent leakage and reminds me of stuff used in baby's cribs. It had some great rusting but needed a bit more color. So I dug around in the garage and found some old sienna brown glazing paint used for faux finishing. I added that in areas to create more contrast. The plant is modeled after my day lilies after a rain. I painted some thin foam material that had been used to ship some computer stuff to my husband. When dry, I cut various leaves in different lengths. I hand sewed the leaves to the background and had to be really careful not to rip the material. The spider web was made using a hot glue gun. I was going for a web with dew or rain stuck to it. I was happy with the look.


I finished up the piece by sewing on different sized washers onto it. They were to add another element of texture and create more of an earth feel. Viewing the final results, I was pretty happy with the project.

Friday, January 6, 2012

ATC - Two


I had to decline participating in our December trade which was a flat Santa trade. They were absolutely adorable. But everything is calming down once again and our January trade was TWO to celebrate our 2nd anniversary. I can't believe we have been doing this for two years already! So many wonderful pieces were traded!
My contribution for the two trade was based on the anniversary and what does one give on the second anniversary. How interesting that it is cotton! So I used cotton fabrics to create little cotton plants to give on our second anniversary. The background was my flour paste resist in blue for the sky, then a metallic green for background plants and a combo rust dyed with tanin on white cotton for the earth colors. I used puffy paint for the plant and cotton balls sewn in for the cotton of course.
I have managed to misplace my camera so a friend was kind enough to use her camera phone to take a picture for me. So no group shot this time around. Sorry

Monday, October 3, 2011

Radiance-Hardware ATC Challenge

I would have done this sooner but my email account seems to have disappeared. Of course, everything was attached to that address and my last week of life has been somewhat of a nightmare! GGrrrr

But I managed to soothe my jangled nerves and produce a piece for this challenge. We were supposed to be using hardware. Stuff you find at the hardware store. Keeping in mind that this is a small piece and that it has to go through the mail, really limits what you can use!


I started out with a piece of hand stitched rust dyed fabric. The piece was started and blown off a while ago. It just wasn't working. So I measured out my cards on the fabric with a black marker and screwed one of them up by not double checking the size before hand! That's why I make extras for mistakes such as these. I wound some copper wire that was from a picture frame hanging kit (at least I think that is where it came from!) Boring. Painted some washers in metallic blue and hand stitched them on. Better but still boring. Looked at the one that I wrote on and realized if I made an intersecting line running down, I would create a focal point. Hmm. More washers, and blue metallic thread gave me the wonderful masterpieces I finally ended up creating! Please note that this is the second ATC in a row that was not a TREE!! I am really growing! Hee-hee

Tuesday, July 26, 2011

Death/Rebirth - Opposites Challenge

Time for the monthly posting of my ATC trade! See the rest here: http://artsinthecards.blogspot.com

This month was Opposites. I thought it would be an easy one to do but I ended up struggling with it. I was not feeling very creative as the day before this was announced, we learned of the sudden death of my BIL Paul. My husband was devastated as he had just lost his father 8 months prior. Events like this always gives us pause to contemplate the cycle of life and other things.

Driving home from the store, my attention was caught by a dead tree spiraling quite high into the sky. It was quite striking against the blue sky with fluffy clouds. I am sure it was a very stately tree with a very interesting past - kind of like my BIL. Below the tree, there were tiny trees, shrubs and flowers growing up all around the dead tree. So that became my theme - death/rebirth. Interesting how after death, other things show up to fill the void.


I used a fabric I dyed with blue dye and a flour paste resist. The trees are made from black and white puffy paint added on top of one another. At the base of the tree, I couched green yarn to create to shrubs and silk scraps are held in place with beads to create the wildflowers. I beaded some additional sprigs of orange flowers to add to the image.

Rest in Peace Paul Cox.
Your outrageous personality and quick wit will be dearly missed.

Sunday, May 1, 2011

Spring - Kinda


Lot's of crazy stuff going on in my life right now! So I have a few things to post about. This is the latest of my ATC trading cards. Looking at them now, they really look so much like a set I did last year. I must have really liked that one!

The theme was in Just Spring based on ee cummings poem. I just didn't have anything springlike happening. We have had nothing but rain and overcast days. It has been depressing to say the least. Everyone has been just in a funk and it is well represented in my latest ATC's.

I used hand dyed fabric and did a rubbing on it with a leaf plate. It was boring. So I fused it to the peltex and cut to individual cards and stamped leaf prints using commercial and hand cut stamps in brown and light green. I really liked them at this point but then was at a loss on how to proceed. I just wasn't in a spring frame of mind. Finally I decided to just go with it and used fabric crayons and sequin waste to add in "flowers" in red, blue and yellow. I smeared on a sparkly glitter glue to represent the standing water. I heat set, then free motion stitched grasses as this seems to be the only thing growing right now. My single shot is a little blurry again. I think I may be having some problems with my camera. It is also tough to get good shots when the weather is so dark and dreary. But we are on our 2nd day of sunshine so things are looking more like spring! Finally!!
Sunday, February 27, 2011

Hanging On - Reduce, Reuse, Recycle


Finished my next set of ATC's and I am way ahead of schedule on this one but still not first one done! LOL What can I say, life is throwing me some serious curve balls this month!

Our theme of reduce, reuse and recycle is pretty self explanatory. I blogged about my process on the group blog is you want to know more! http://artsinthecards.blogspot.com/

Check out everyone else's interpretations! They are really cool!

Wednesday, February 2, 2011

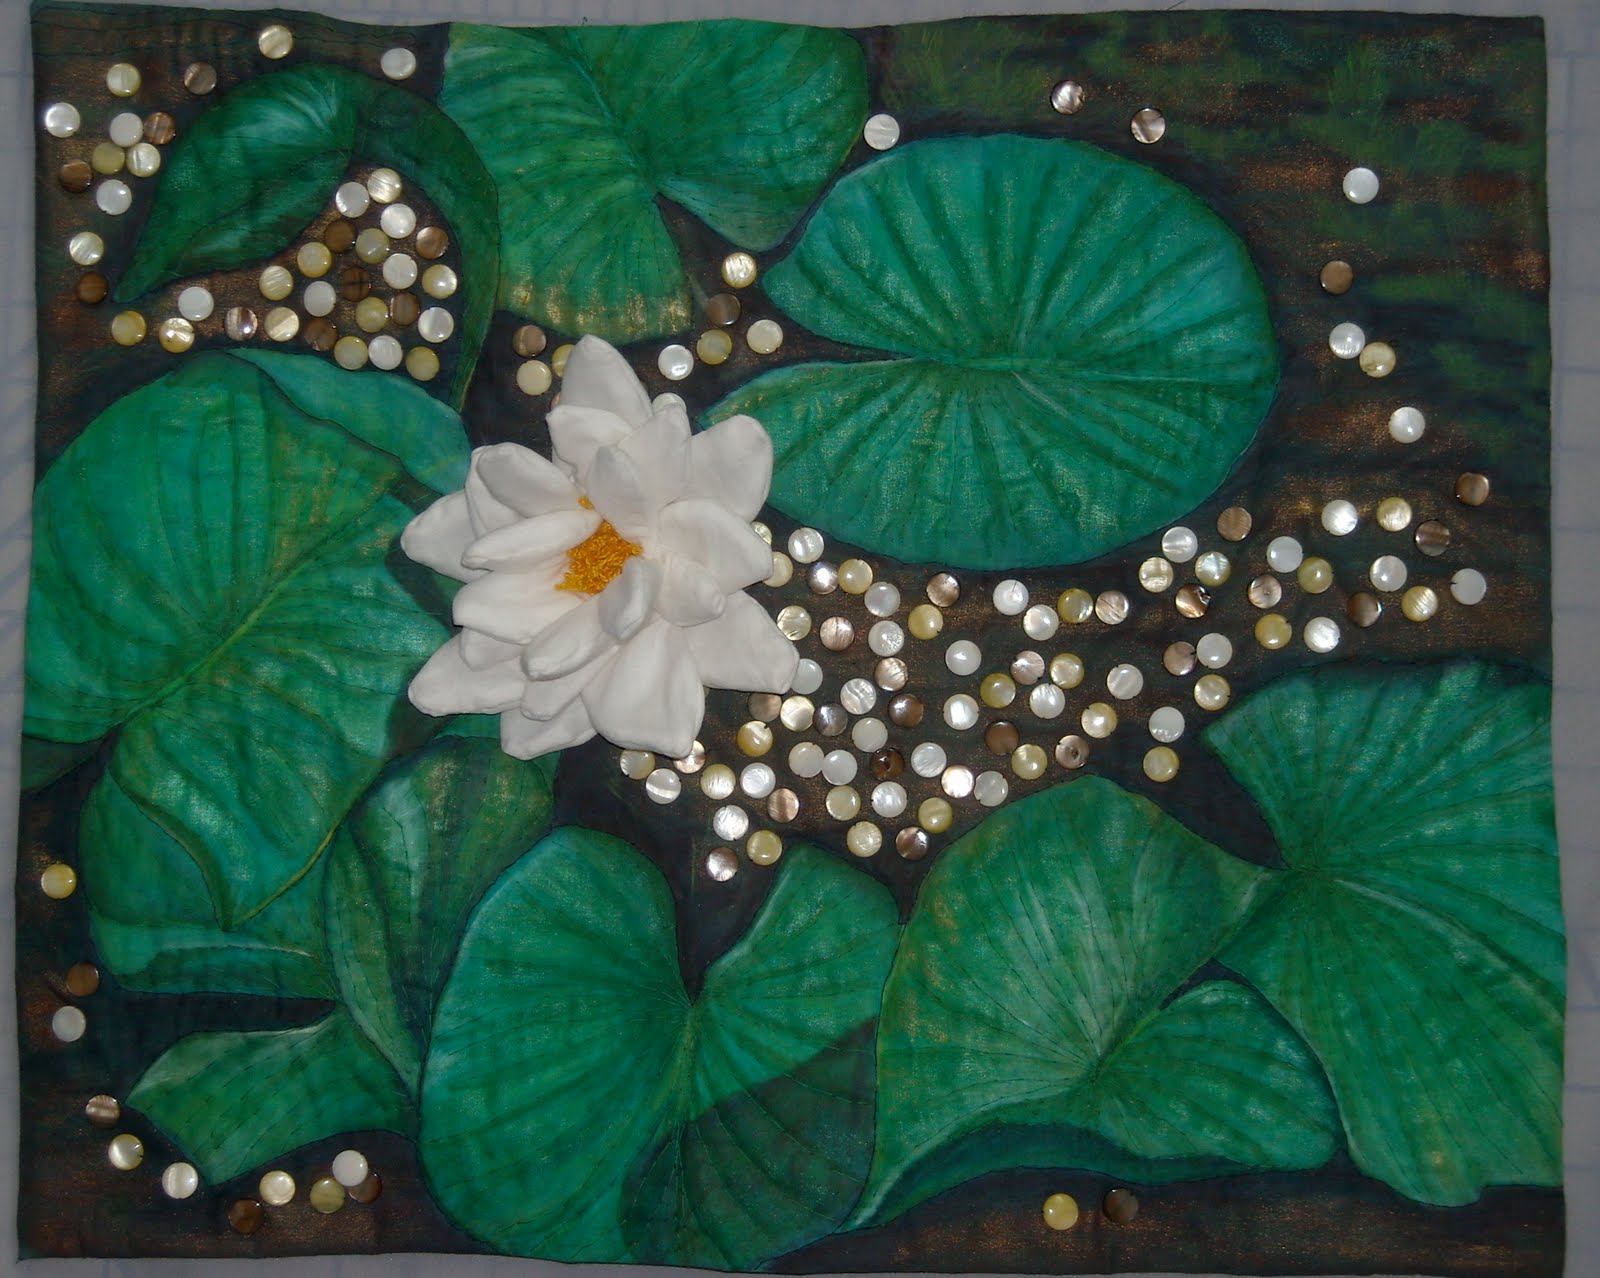
Lily Pads - Creative Combo


Finally finished my next challenge. I never seem to be able to create something quickly. It always has to be a ton of different materials and ideas rolled into one. Oh well. Check here for all the other creative combo cards made for the challenge http://artsinthecards.blogspot.com/

Can you tell I am longing for spring with this one? My creative combo was the use of cotton fabric and inks. Of course I did add in interference blue medium, and threads and sequins.

Thursday, December 23, 2010

Trashin' the Mailman ATC


Our latest trade was to use the junk mail that we receive and create some ATC's. This gave me a chance to try out a cool new technique for image transfer. Take a color brochure and place packing tape over the image. Overlap if you need to. Then rub the whole image to make sure you get a good print. Once that is done, flip over to the backside, run some sandpaper over it to rough up the surface, then use water to remove the paper backing. This will leave you with a print of the image on the packing tape.
I glued this to watercolor paper that had been painted in pinks, blues and purples to match the colors from the brochures. I used gel medium to adhere it. I then pounced some interference blue over the fronts, then stamped with tiny snowflakes in dark blue. Once that was dry, I added another stamp in white in a random pattern and outlined in dark blue marker.
For the big snowflake, I cut out 2 snowflakes from the brochure and then made photocopies in a larger size. I made extras in case I screwed up ; )
I used glitter glue on top of the snowflakes to make them sparkle then cut each one out when the glue dried. I glued one to each card and added Holiday 2010 from another brochure.
Finally I added eyelets and funky yarn to frame the entire piece. They were hard to photograph as they are very shiney.

Check out our ATC blog to see all the other pieces for this challenge:
http://artsinthecards.blogspot.com/

Sunday, October 17, 2010

Florida Flora

I can't believe I haven't posted anything since end of August. So sad but I have been busy. Well busy with my kids going back to school, going back to work, my kids various social engagements and soccer season. But I did manage to get a piece done and entered into the Road to California show.


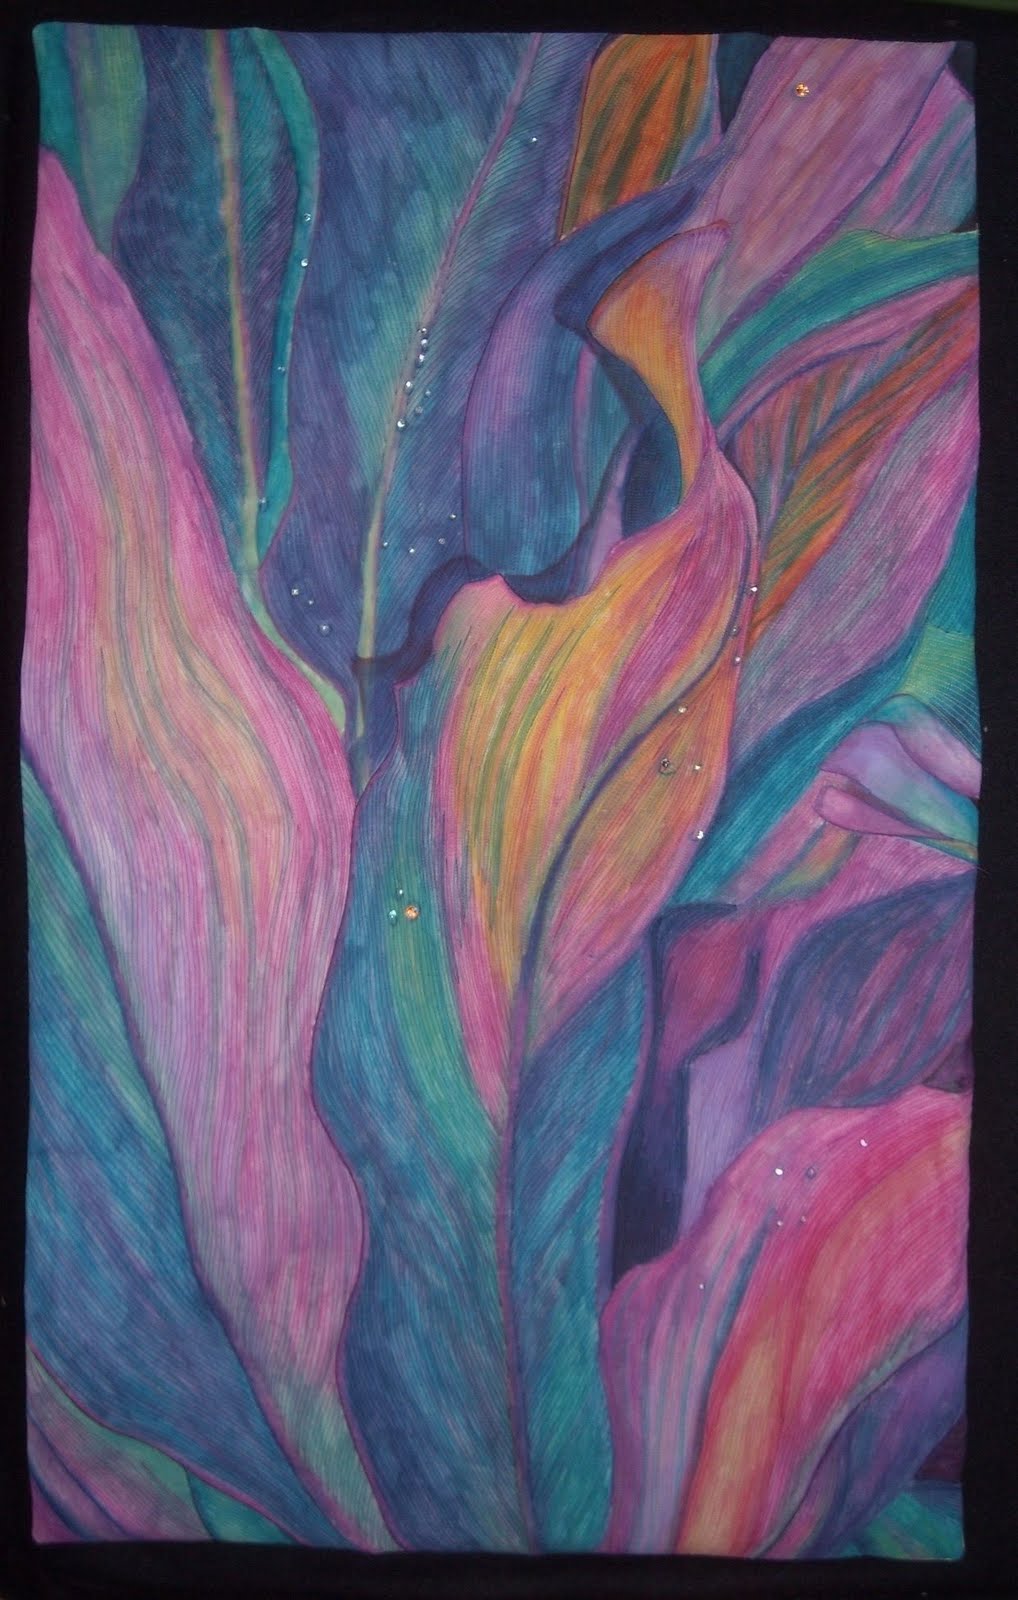
I started out using a photo I took while on vacation in Florida last year. I sketched out the picture using Neocolor Watercolor crayons and then blended using textile medium. I heat set and then added batting and backing. I used various colors of thread to create the lines in the leaves. I first outlined all the large leaves and then stitched to get the patterns. I wanted it to look more like leaves in life than a perfect leaf so pushed the fabric an manipulated it to add a more three dimensional look and feel. So parts of the leaves and stems pop out from the fabric. I added clear beads to simulate the water drops and a few crystal beads for more realistic water droplets. I used fabrico dye pens to add a drop shadow behind for even more dimension.
I think this is one of my favorite pieces. Wish my luck!

Thursday, August 26, 2010

Favorite Quote ATC


I am ahead of schedule for once. Maybe it is because my children went back to school and I have a moment to breathe. I almost feel guilty working on my art. I keep thinking that I should be doing projects around the house. But this two week break is my only time to myself for a very long time. So guilt be gone!!! LOL

So our next challenge was to create something about our favorite quote. Technically it isn't a quote but a line from a song by Jewel "Life Uncommon". Something about this line really struck a cord with me and so I went with it.


This is the first ATC created on paper. I used watercolor paper and added ink in yellow, pink and green. Then I added some gel medium to create some texture and when dry used a deep rose to tone down the colors. I fused a fabric heart onto the paper and added threads using the gel medium. I wanted the viewer to get the sense of emotions tying us up and keeping us from moving forward. I hand wrote the quote in and at the very last minute, I carved a little bird and stamped it onto each card. I seem to have a very yellowy looking card but it isn't quite that color - more golden. But a better representation than cards past!

Friday, August 6, 2010

Lily and Pads


I finished this piece a while ago but was agonizing on how to finish off the edges so I put it off to the side and forgot about it. Lark Books is looking for nature related photos of art quilts for a book series they are looking to do. So while I was looking through all my pieces, I realized that this would be perfect. I decided to just face the piece after consulting my critique group for their opinions. I was surprised they all agreed on no borders! Now that it is complete, I have to agree it looks great.

Call for Consideration
Art Quilt Portfolio – A New Series from Lark Crafts
First volume in the series to be published Spring 2012

Art Quilt Portfolio: The Natural World
An Inspiring Collection of Art Quilts
By Martha Sielman

So here is one of the pieces I submitted for consideration. I painted the fabric and then added details with dye pens and shiva paintstiks. I hand quilted around all the leaves because I wanted it to puff out - thinking it would add to the 3 dimensional look (it did!). The lily is three dimensional. I created a petal template and cut 2 different types of white fabric, stitched around and then reversed out to put the seams inside. I layered and stitched them in place. The center is done with embroidery threads. I beaded the background to add additional texture.

I really feel good about this piece. Wish me luck!

Monday, August 2, 2010

This and That


Well I have not been as busy as I would like to be creating art but I haven't been a total slacker either. I just finished my ATC's for the latest trade - Sew What's Buggin' You? Mine are dragonflies! The write up for them is on the blog - http://artsinthecards.blogspot.com/

I am also working to get some pieces ready for submission to Art O Mat. I have two ideas but need to get them sent off and have them ok'd before I post pics. Wish me luck!

Friday, June 25, 2010

Art In the Cards Trading Group

I was invited to join an ATC group a few months back and you have seen the pieces that I have done. Well now we are doing a blog so that you can see what the whole group is doing. Some pretty amazing pieces are coming out of such a tiny group! We will be starting with our All Cracked Up theme and going forward from there. I am thinking we should post our other pieces too because they are amazing!! Anyway, here is the link if you want to check it out!

http://artsinthecards.blogspot.com/